
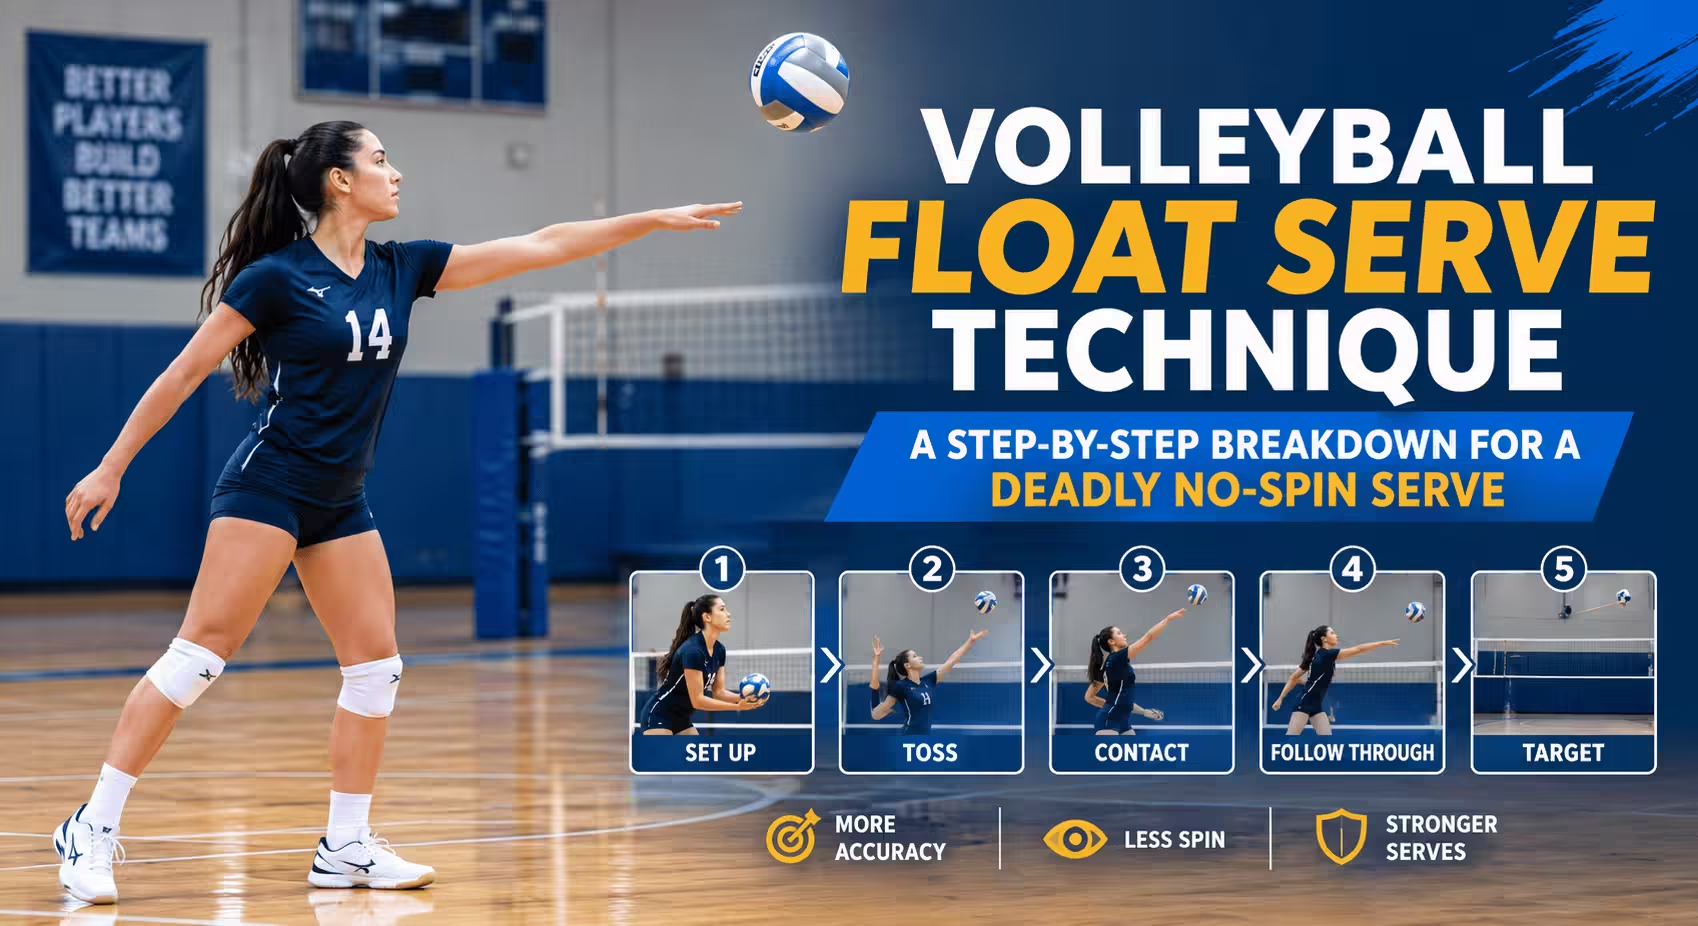
Master the volleyball float serve technique with this step-by-step breakdown. Learn the toss, footwork, contact point, and drills to hit a consistent, unpredictable no-spin serve.
Why the Float Serve Is Your Most Reliable Weapon
The float serve is one of the most effective and accessible serves in volleyball. Unlike a topspin jump serve that demands explosive power and years of arm-speed development, the float serve relies on precision, not force.
The magic of the float serve comes from aerodynamics. A ball hit with no spin creates turbulent, uneven airflow around its panels, causing it to wobble, dip, and veer unpredictably—much like a knuckleball in baseball. Passers cannot read a clean platform angle off the serve, which is exactly why coaches love it. It is the first serve most players should master because it is easier to keep in than a spin serve, it puts real pressure on serve receive, and it works from a standing position or with a short jump-float approach.
This guide breaks down the complete volleyball float serve technique into seven steps you can practice immediately, whether you are a beginner learning the standing float or an advanced player refining a jump float.
The Seven-Step Float Serve Technique Breakdown
Step 1: The Stance and Grip
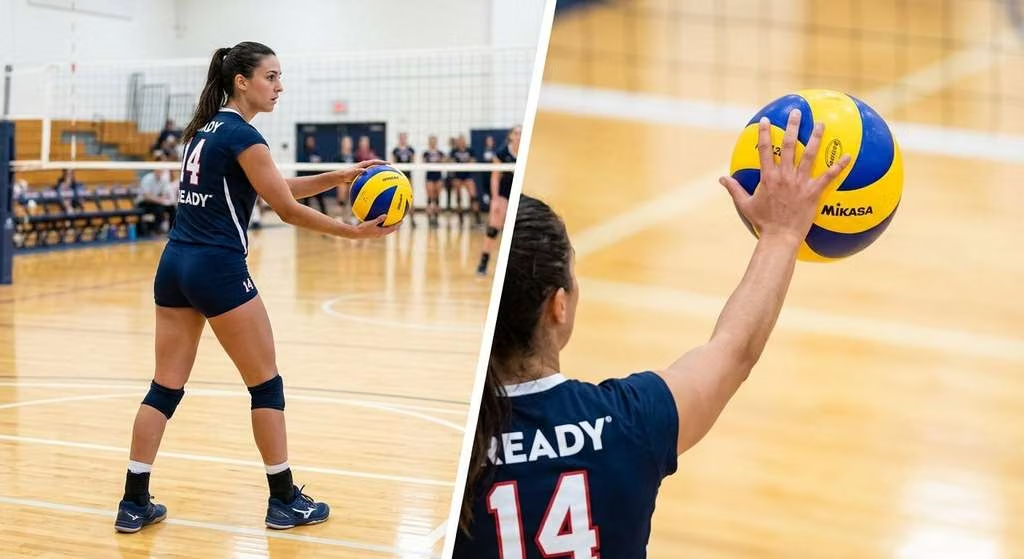
Every great float serve starts with a repeatable setup. For a right-handed server, stand with your left foot slightly in front of your right, about three steps back from the end line for a jump float, or directly behind the line for a standing float. Your weight should lean slightly forward, and your body should face the direction you intend to serve.
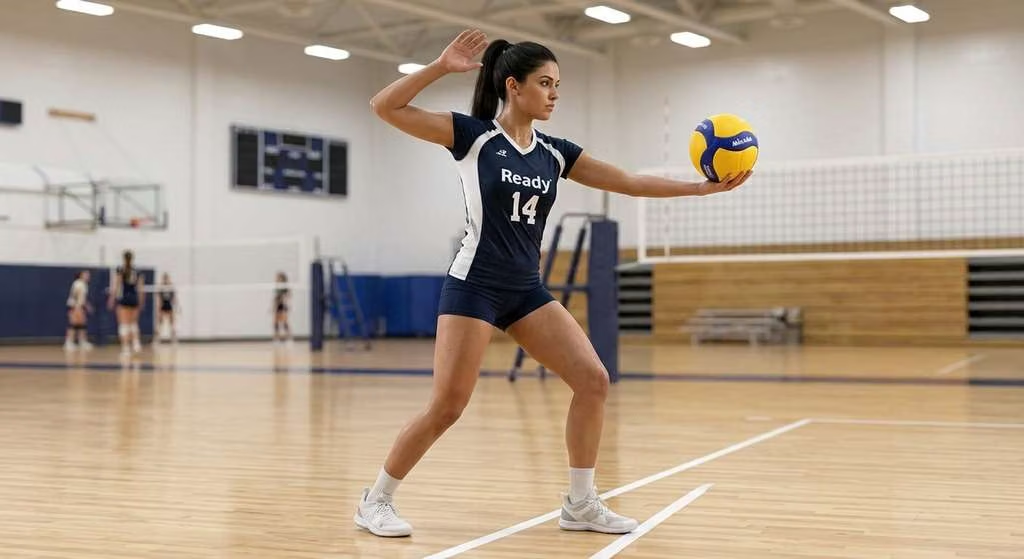
Hold the ball in your non-dominant hand at shoulder height. Your hitting arm should be up with a high elbow, ready to attack. Crucially, keep your approach short and controlled—this is not the four-step run-up of a topspin jump serve.
Step 2: The Toss (The Make-or-Break Moment)
The toss is where most float serves are lost before the player even makes contact. Olympic medalist Kim Hill has said the toss is the single hardest part of the serve to master.
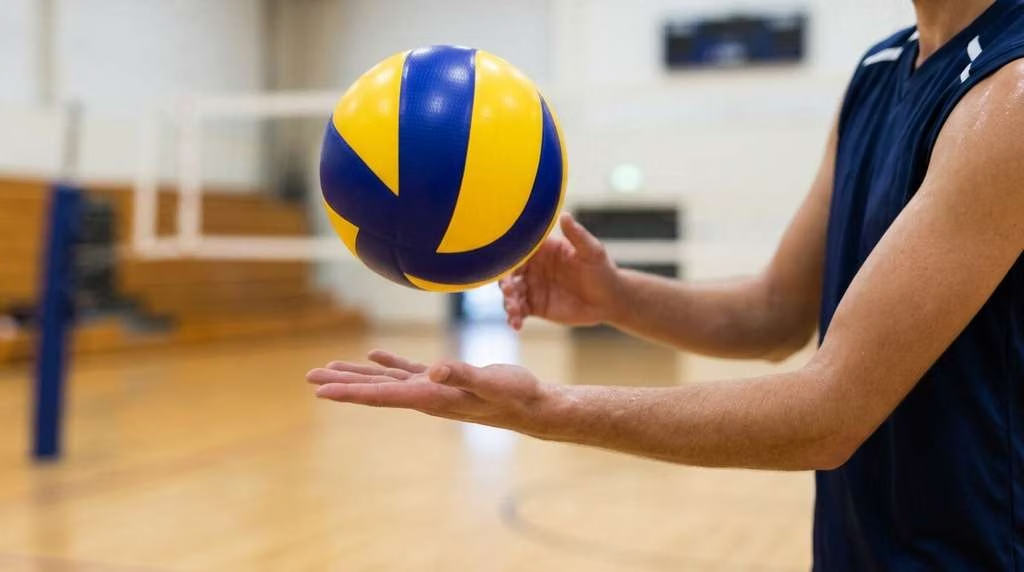
The rules for a float serve toss:
- Location: Toss the ball one to two feet above your head, slightly ahead of and to the right side of your body (for right-handers). It should be in line with your hitting shoulder.
- Height: Keep it low. A high toss gives the ball time to drift and spin, forcing you to time a falling target. A short toss lets you hit a still ball at a consistent height.
- Spin: The toss must have zero rotation. Lift the ball with a flat, open palm—no fingers, no flick. A spinning toss almost always leads to a spinning, sailing serve.
Coaching cue: Think of the toss as lifting the ball, not throwing it. Your tossing hand should point to the ball until just before contact.
Step 3: The Footwork and Approach
For a jump float serve, the footwork rhythm for a right-handed player is: step (left), toss, step (right), step (left). The toss happens on the first step, and the last two steps are your power base.
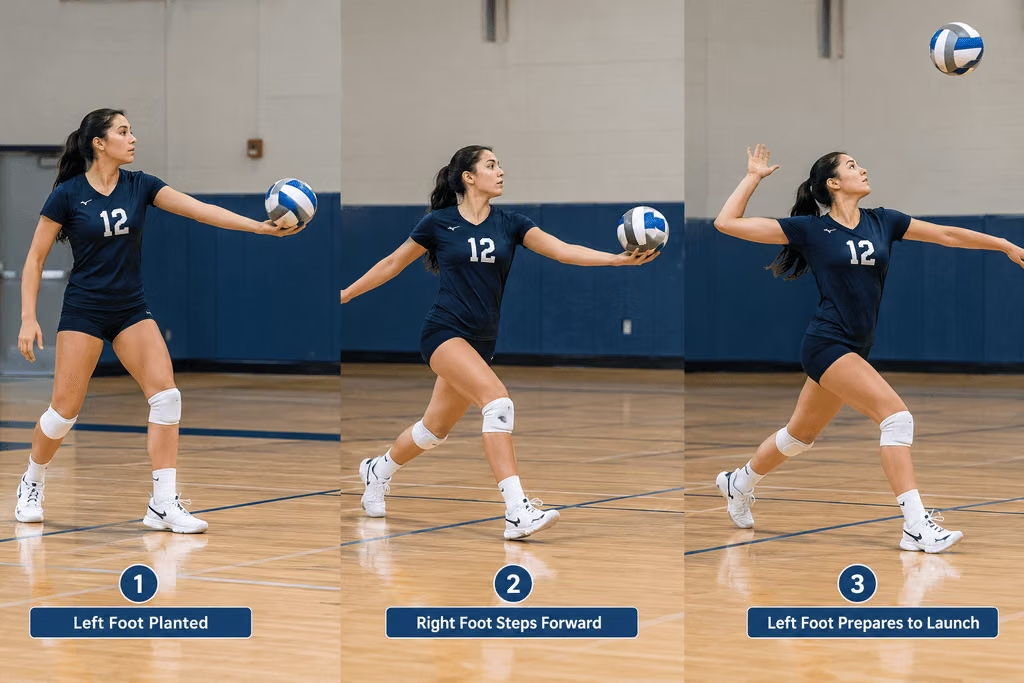
On your final two steps, turn your feet 30 to 45 degrees toward your serving-arm side. This rotation opens your hips and generates torque through the contact point—a pro-level detail that makes a meaningful difference in ball velocity.
For a standing float serve, the footwork is simpler: take one small step forward with your non-hitting foot. Let the weight shift of that step be your power source. Your back foot should drag forward naturally.
Step 4: The Jump (For Jump Float)
The jump float approach is shorter than a topspin jump serve, and the jump goes up, not forward. The whole point is control and deception, not raw pace.
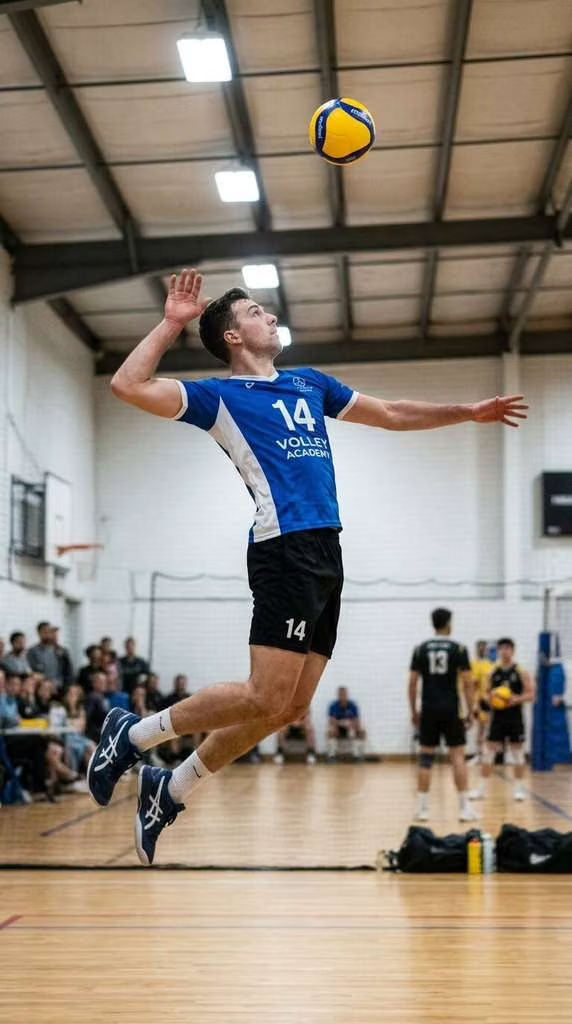
Jump off your final left step, driving straight up. Your hitting arm should be pulled back with the elbow high, and your non-hitting arm should lead slightly for balance. Keep your body tall and straight in the air—avoid excessive back bend.
Step 5: The Contact (The Heart of the Float)
This is where the float serve is won or lost. The goal is to make contact that produces zero spin.
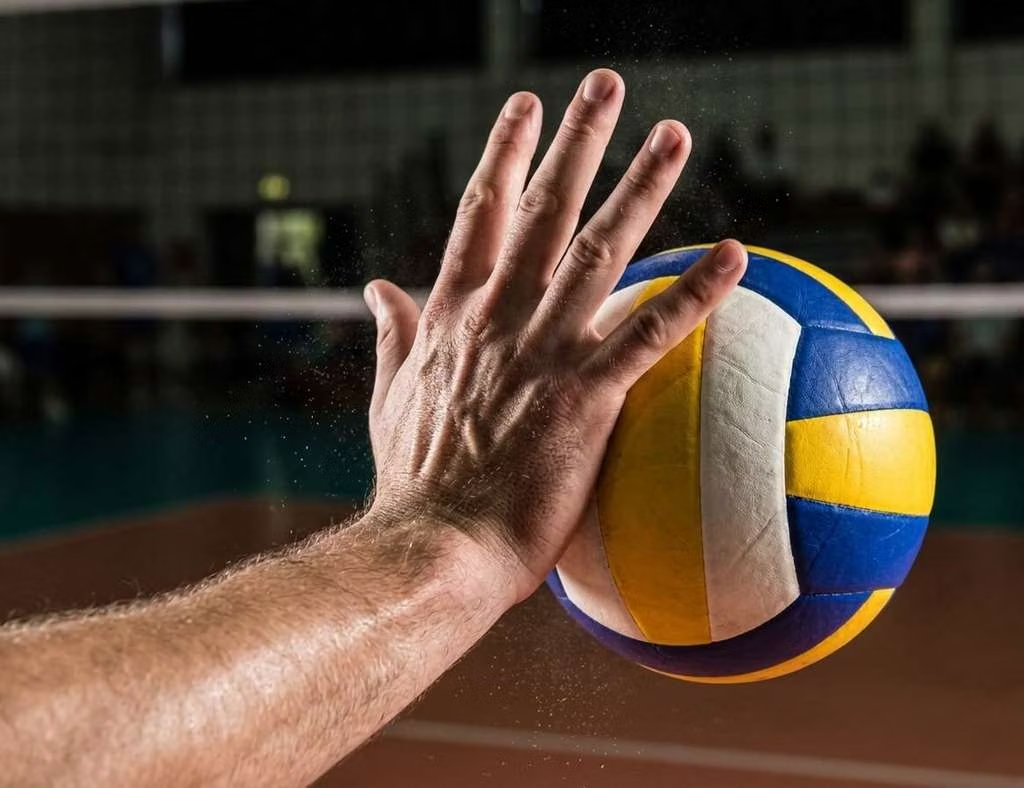
The contact checklist:
| Element | What to Do |
|---|---|
| Hand shape | Flat, firm, open palm with fingers spread wide—like a firm high-five |
| Wrist | Locked and rigid. A loose wrist puts spin on the ball |
| Contact point | The exact center of the back of the ball, slightly below the center line, as high as possible |
| Arm path | Swing through the ball with a short, punching motion. The shoulder and elbow lead the hand |
| Follow-through | Stop your arm on impact. No wrist snap. No full downward swing. A complete finish puts spin on the ball |
Hugh McCutcheon, former head coach of both U.S. national teams, puts it bluntly: use a flat, tight hand, contact the middle of the hand to the middle of the ball, and worry about routine and rhythm after that contact point is consistent.
Step 6: The Follow-Through (or Lack Thereof)
The follow-through is where many servers accidentally add spin. The correct finish is a short push forward, then stop. Your hand should finish pointing at your target, palm open and facing the net. Do not swing your arm down across your body.
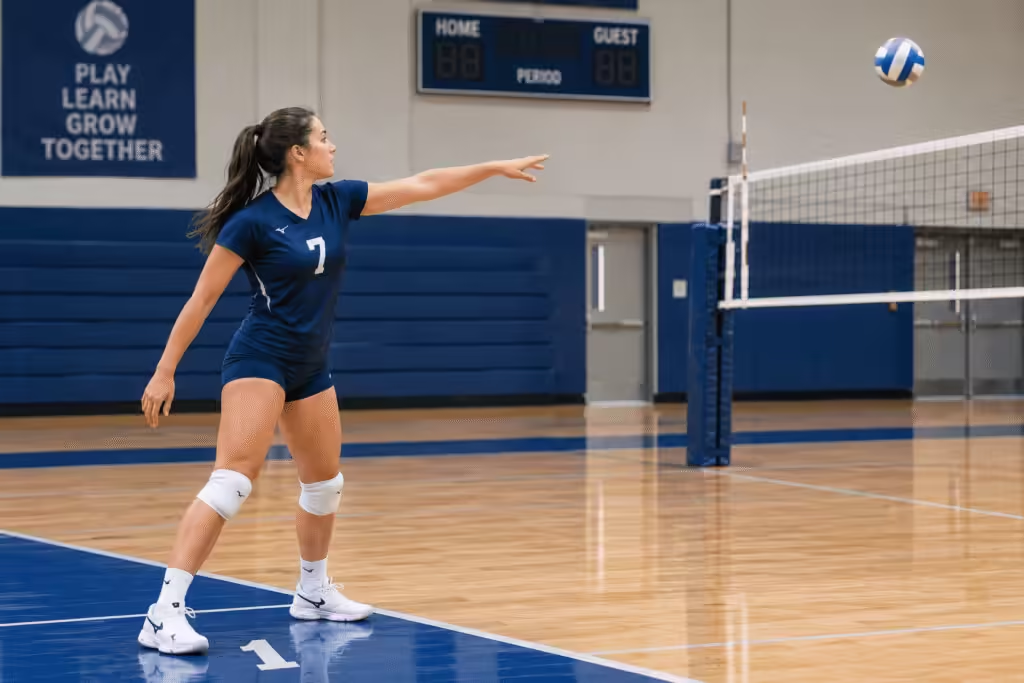
Think of it as a short, firm punch that quits the instant you touch the ball.
Step 7: The Landing and Transition
After contact, land inside the court on both feet, balanced and ready to move. Your shoulders and hips should now face the direction of the serve. Immediately transition into your defensive position—the serve is only the first touch of the rally.
Float Serve vs. Jump Float: Which Should You Learn First?
| Serve Type | Consistency | Disruption | Best For |
|---|---|---|---|
| Standing Float | Highest | Moderate | Beginners, young players, high-pressure moments |
| Jump Float | Moderate–High | High | Intermediate and advanced players seeking more velocity and a lower net clearance |
Most teams serve tougher overall by mastering the standing float first and adding a jump float later. The jump float offers a higher contact point and greater ball velocity, but the fundamentals of the no-spin contact remain identical.
Five Common Float Serve Mistakes (And How to Fix Them)
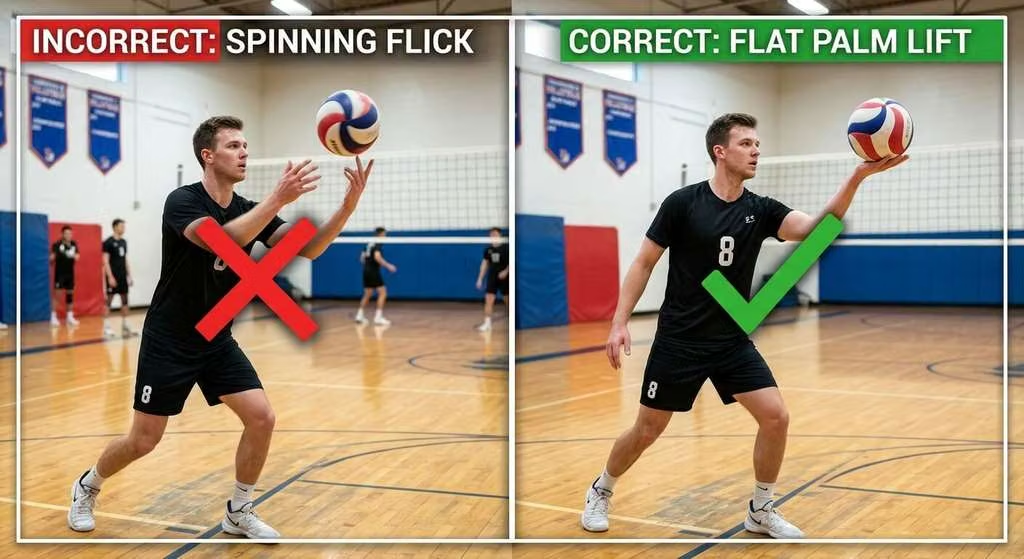
| Mistake | Why It Happens | The Fix |
|---|---|---|
| Spinning toss | Flicking the wrist or using fingers during the lift | Hold the ball on a flat, open palm and lift without any finger action |
| Contact with knuckles or uneven hand | Poor hand shape at contact | Use the flat, rigid surface of the palm—fingers spread, wrist locked |
| Following through downward | Habit from topspin serving | Stop the arm on impact. Practice the “punch and quit” motion |
| Toss too high or too far behind | Trying to generate power with a big wind-up | Toss low (12–18 inches above reach) and slightly in front of the hitting shoulder |
| Stepping with the same foot as the hitting arm | Lack of a staggered stance | Start with the opposite foot forward. The weight shift from the step provides power |
Three Drills to Build a Repeatable Float Serve
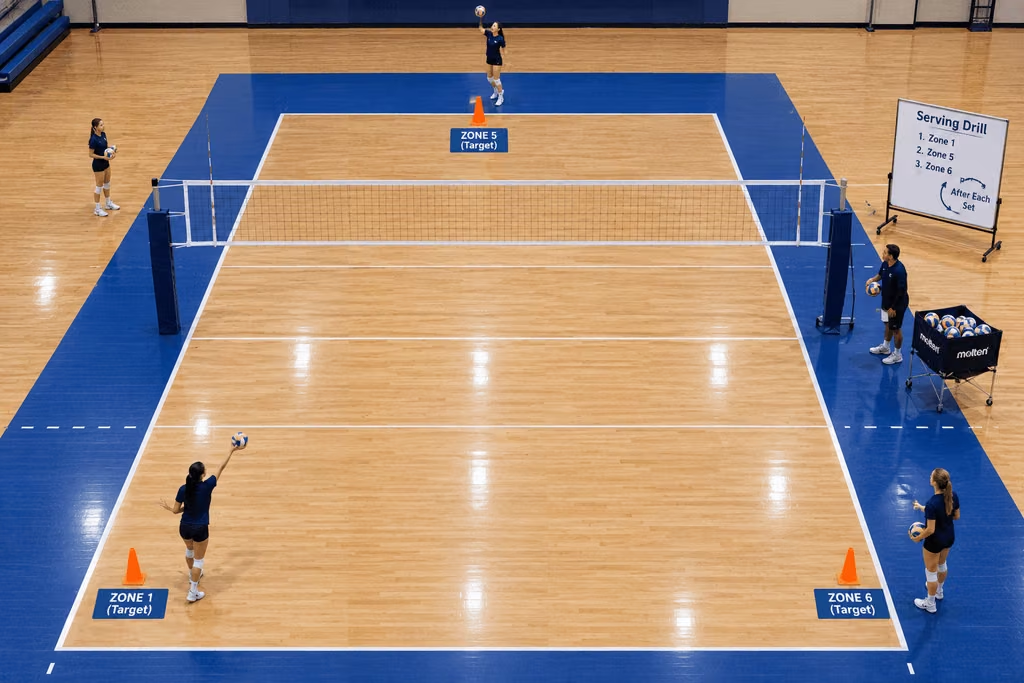
Drill 1: The Wall Toss-and-Stop
Stand 10 feet from a wall. Toss the ball with a flat palm and hit it into the wall with a firm, flat hand, stopping your arm immediately on contact. Focus on zero spin and a silent, dead hit. Do 20 repetitions. This drill isolates the toss and contact without the variable of the net. “If you want more reps without a partner, see these How to Practice Volleyball Alone at Home“
Drill 2: The Line Drill
Tape a straight line on the court from your serving position to your target. Place the ball and your serving shoulder on that line. Serve 10 balls, focusing on a straight, repeatable toss and contact path. This drill simplifies the movement and increases consistency.
Drill 3: Three-Station Target Progression
Set up three serving stations: one for serve height (clearing the net by 1–2 feet), one for clean float (no spin), and one for short/deep targeting. Serve two balls at each station, then rotate. This progression builds awareness of height, spin, and placement in a single session.
Frequently Asked Questions
How do you hit a float serve in volleyball?
Toss the ball low and steady with no spin, step into it, and contact the exact center of the ball with a firm, flat hand while stopping your arm on impact. No follow-through and no spin are the whole secret.
What is the difference between a float serve and a jump serve?
A float serve is hit with no spin so the ball wobbles and moves unpredictably. A jump topspin serve is hit with forward rotation and maximum power. The float wins on consistency and disruption, while the jump serve wins on raw speed.
Why does my float serve spin?
A spinning float serve almost always starts with a spinning toss. If your toss has rotation, the serve will too. Fix the toss first by lifting the ball with a flat, open palm and no finger flick.
How high should the toss be for a float serve?
The toss should lift the ball only 12 to 18 inches above your reaching hand. A low toss lets you hit a still ball at a consistent height, which is how you repeat the serve under pressure.
Should I follow through on a float serve?
No. Stop your arm on impact. A short push forward is acceptable, but a full downward swing adds spin and kills the float effect.
Final Word
The volleyball float serve technique is not about power. It is about a repeatable toss, a firm flat hand, and the discipline to stop your arm on contact. Master these seven steps, drill the toss until it is boringly consistent, and you will have a serve that floats, dips, and frustrates passers at every level.
Save this guide, share it with a teammate, and get on the end line. Your best serve is built one no-spin repetition at a time. Then plug your serving work into a 7-Day Volleyball Training Schedule so your float serve gets consistent weekly reps alongside skill, strength, and recovery.


Luckywingame, huh? Sounds interesting! Signed up and so far the games are fun and engaging. A good way to kill some time. Try it yourself: luckywingame